One of the most challenging things about digital photography is getting the print to match the computer monitor. I suggest getting to know one lab so you can tweak things if necessary to get consistent results. For example, if you know that every time you print at Adorama your prints come out dark, you will know that you always have to brighten them a bit before submitting them to be printed.
Please bring for our final class:
-Approx 5-10 Prints of photos you have taken that you love!
-Approx 8x10" size
For fine art quality Inkjet Prints, ask your printer, but most likely you should leave the color profile as Adobe RGB.
For most other labs that make digital C prints (non-inkjet, like Adorama), to get your colors looking right, you should convert to sRGB color profile.
*Most of our cameras are set to Adobe RGB (the bigger better color spectrum) however, a lot of labs require the image to be in sRGB color profile. (If you know you will be printing at places like Adorama and not really doing many fine art type inkjet prints, you may want to just leave your camera in sRGB) To change the color profile of a certain document, in Photoshop, go to Edit > Convert to Profile. If you fail to convert before printing, it could mean your print will turn out a little desaturated. Always “Save AS” to save a duplicate copy that's print ready (so you have your original preserved).
Lab Suggestions:
Adorama You can upload online and have them mailed to you or pick up in store. Be sure images are sRGB color profile. There is a few days to a week turnaround- depends if you rush and/or pick up in-store.
Print Space You can email images to the lab, but you must go there to pick up. They do inkjet or digital C prints- call for prices. Be sure images are Adobe RGB color profile. 24 hr turnaround.
Graphix Lab at FIT: ph 212-217-5474. Call for Hours. (D building, 5th floor) (You must go in to D529 to drop off and pick up. Be sure images have the Adobe RGB color profile) 24 hr turnaround.
*In Photoshop, make sure your image resolution is 300dpi and the file size is the same as the output size. If you want to make a print that is 8x10 inches, go to Image > Image Size in Photoshop and make sure it's 300dpi and that the height/width are approx 8x10 inches. File > Save As a JPG before uploading to Adorama or taking it to a lab to be printed. JPG quality should be 12 (high).
More advanced Photoshop Users who are making prints at Adorama:
Download the Adorama profiles here (Glossy Endura) http://www.adoramapix.com/Support.aspx?SupportID=prepcolor
Thursday, January 27, 2011
Composition
Some thoughts and suggestions for composing interesting shots:
*Do NOT center your subject! Follow the Rule Of Thirds


above: Georgia O'keefe photographed by Alfred Stieglitz
* Look for diagonal lines

*Look for shapes that can frame your subject
*Do NOT center your subject! Follow the Rule Of Thirds


above: Georgia O'keefe photographed by Alfred Stieglitz
* Look for diagonal lines

*Look for shapes that can frame your subject
Motion Control
Remember, most people cannot hold a camera still for an in focus shot for anything slower than 1/60th of a second. Images usually come out blurry when shooting at 1/30th, 1/15th or 1/8th. (In your camera, it probably just says 30, 15 or 8 etc. under shutter speed... it's usually not written in fractions in your camera)
But when shooting at 1/60th of a second, the image will only be in focus if the subject is not moving. Once the subject moves, you need a quicker exposure....perhaps 1/250th of a second or faster.
If you're outside during the day roaming around and want to make sure there is no motion blur in your pictures, the "S" setting is a good one to choose (Shutter Priority). Set the shutter to 1/250 and the camera will choose the aperture for you.
One thing to consider, your flash will not fire when shooting faster than 1/250th (for most cameras). For example, if you're in Manual mode and shooting at 1/1000 of a second, you will not be able to add flash.
Try shooting at a slower exposure (try 1/30, 1/60 and 1/125) and “pan” or “track” the moving object. The goal is the get the object in focus and the background to show motion. You can use a tripod to get really good at this!
Panning can achieve looks like this:


Here is a handout with some exercises to practice motion control:

For something like this, you would have to use a tripod at perhaps 1/15 second. The tripod would freeze the rock (which is still) and show the motion of the moving water:


Controlling Motion blur in LOW LIGHT situations:
At night, or in low light situations, if you shoot with a slow shutter speed (like 1/15 or 1/30) and no flash,the picture will be blurry:

If you put your camera on Auto, most likely, your camera will use the flash but choose a shutter speed too fast to capture the ambient light in the background (perhaps 1/125 or so). The flash lights up your subject but not the background:

To capture the lights in the background and your subjects in focus, you must choose a slower shutter speed, like 1/15 or 1/30 and use flash. The flash guarantees your subjects will not be blurry. Try using "S" shutter priority mode (and choosing 1/15 or 1/30) and hold your camera very still!:

Raw Plug-Ins
For those of you who were not able to open RAW files on your computer, you may need to download a raw plugin from the Adobe Website. here is a link:
http://kb2.adobe.com/cps/407/kb407111.html
For those of you with the D7000 camera, looks like you need version 6.3 of the raw plug in, which you can get by clicking here: http://kb2.adobe.com/cps/883/cpsid_88395.html
http://kb2.adobe.com/cps/407/kb407111.html
For those of you with the D7000 camera, looks like you need version 6.3 of the raw plug in, which you can get by clicking here: http://kb2.adobe.com/cps/883/cpsid_88395.html
Tuesday, January 25, 2011
Events and Openings this week
Photo related Events and openings in NYC this week and beyond:
(This info is from the DART list - Design Arts Daily-by Peggy Roalf.)
Tuesday, January 25 & Wednesday, January 26, 2:00 pm: Women’s Studio Workshop Artists Panel and Curators Talk on Artist Books. Grolier Club, 47 East 60th Street, NY, NY. Free.
Wednesday, January 26, 6:00-8:00 pm: Opening reception for Ex Libris, books by 26 artists including Ed Ruscha, Chris Ware, Maira Kalman, Chip Kidd, Charles Burns, and Ruth Marten, among others. Adam Baumgold Gallery, 60 East 66th Street, NY, NY.
Wednesday, January 26, 7:00 pm: The Architectural League presents Gregg Pasquarelli of SHoP Architects, Out of Practice, Current Work. The Great Hall, The Cooper Union, 7 East 7th Street. Tickets, $15 for non-members, can be purchased on January 26th.
Wednesday, January 26, 7:00-10:00 pm: Launch party for Cousin Corinne, Issue Number Two. Bookcourt, 163 Court Street, Brooklyn, NY.
Wednesday, January 26, 6:00: Princeton Architectural Press presents Large Scale: Fabricating Sculpture in the 1960s and 70s, with Jonathan Lippincott and Robert Murray. New York Public Library, Stephen A. Schwartzman Building, Margaret Liebman Berger Forum, 2nd floor, Fifth Avenue at 42nd Street, NY, NY. Free; doors open at 5:30.
Wednesday, January 26, 11:00 am-6:00 pm: Opening day for Mark Power: The Sound of Two Songs and The Shipping Forecast. Amador Gallery, 41 East 57th Street, 6th Floor NY, NY.
Wednesday, January 26, 11:00 am-6:00 pm: Opening day for George Condo: Mental States. New Museum, 235 Bowery, NY, NY.
Wednesday, January 26, 10:00 am-5:00 pm: Opening day for Book and Editorial Annual Exhibition at Society of Illustrators, 128 East 63rd Street, NY, NY. Save the date for the Awards Ceremony and reception: February 4th, 6:00 pm. Admission: $30/$35/$20. RSVP or 212.38.2560.
Thursday, January 27, 6:30 pm: Museum off the City of New York presents historian Linda Gordon, author of Dorothea Lange: A Life Beyond Limits (W.W. Norton, 2009) discussing the role gender played in Americans’ response to the economic crisis of the 1030s. RSVP or 917-492-3395 for special half-price tickets ($6) for DART subscribers. Museum of the City of New York, 1220 Fifth Avenue at 103rd Street, NY, NY.
Thursday, January 27: Opening day for Along the Yangzi River: Regional Culture of the Bronze Age from Hunan. China Institute Gallery, 125 East 68th Street, NY, NY.
Thursday, January 27, 6:00-8:00 pm: Opening reception and book signing for Mark Seliger: Listen. Steven Kasher Gallery, 521 West 23rd Street, NY, NY.
Thursday, January 27, 7:00-8:30: Opening reception for Gathered: A Solo Exhibition of Work by Lorna Simpson. Brooklyn Museum, 200 Eastern Parkway, Brooklyn, NY.
Thursday, January 27, 6:00-8:00 pm: Prototypes: The Experimental Typography of Andrew Byrom. Type Directors Club, 347 W. 36th St, #603, NY, NY. Tickets Free/$20/$15. RSVP or 212-633-8943.
Thursday, January 27, 7:00 pm: Roundtable conversation about the photographs of 2010. Panelists include Chris Boot, Executive Director, Aperture Foundation; W.M. Hunt, curator of exhibition currently on View; Susie Linfield, author and social critic; Stephen Mayes, Director, VII Photo; Jamie Wellford, Senior Photo Editor, Newsweek. VII Gallery, 28 Jay Street, DUMBO, Brooklyn, NY. Free with RSVP.
Friday, January 28, 6:30 pm: The Center for Book Arts presents History of Art Series: Book Arts Collaborations, with Mary Ann Caws and Raphael Rubenstein. The Center for Book Arts, 28 W. 27th St., 3rd Floor, NY, NY. Free, suggested donation $5/$10.
Friday, January 28, 11:00 am – 10:00 pm: Opening day for Body Language: The Yogis of India and Nepal, photographs by Thomas Kelly. Rubin Museum of Art, 150 West 17th Street, NY, NY.
Friday, January 28, 10:30 am-8:00 pm: Opening Day for Staging Action: Performance in Photography Since 1960. Museum of Modern Art, 11 West 53rd Street, NY, NY.
Friday, January 28, 10:00 am-6:00 pm: Opening Day for an exhibition of vintage photo booth strips, "drugstore" prints, and uniquely captioned prints by renowned poet Allen Ginsberg. Howard Greenberg Gallery, 41 East 57th Street, Suite 1406, NY, NY. Save the date: February 8, from 6:00-8:00pm for a reception and lecture.
Saturday, January 29, 3:00 pm: Artist talk with Thomas Kelly in conjunction with the photography exhibition Body Language: The Yogis of India and Nepal, Rubin Museum of Art, 150 West 17th Street, NY, NY. Tickets $12/Free. Note: RMAs popular Brainwave Series continues, starting in February.
Wednesday, February 2, 7:00 pm: Albert Watson launches Spring Photographers Lecture Series at the International Center of Photography School, 1114 Avenue of the Americas, NY, NY. Tickets, $15 at the door.
Thursday, February 3, 6:00-8:00 pm: Opening Reception for O. Winston Link: The Last Steam Railroad in America. Robert Mann Gallery, 210 Eleventh Avenue (Between 24th-25th Streets, FL 10), NY, NY.
Thursday, February 3, 6:30-8:30 pm: Opening reception for Cartoon Polymaths, featuring multimedia work by Winsor McCay, Saul Steinberg, Richard McGuire, Paper Rad and more. Sheila C. Johnson Design Center at Parsons the New School for Design. 66 Fifth Avenue at 13th Street, NY, NY.
Thursday, February 3, 7:00 pm: Art In the First Person presents Joe Fig: Inside the Painter’s Studio. School of Visual Arts, 209 East 23 Street, 3rd-floor amphitheater, NY, NY. Free; please have photo ID to enter the building.
Thursday, February 3, 6:00-8:00pm: Opening reception for Jim Campbell: 4 Works. Hosfelt Gallery, 531 W 36th Street. NY. NY.
Thursday, February 3, 6:30 pm: Lecture by Professor Marc Nichanian of Sabanci University, Turkey in conjunction with the exhibition Blind Dates: New Encounters from the Edges of a Former Empire. Pratt Manhattan Gallery, 144 West 14th Street, NY, NY.
Friday, February 4, 1:30 pm: Gallery talk with Molleen Theodore on Pictures by Women: A History of Modern Photography. Meet at 2nd floor Atrium. Museum of Modern Art, 11 West 53rd Street, NY, NY. Free with museum admission.
Friday, January 21, 2011
Photoshop: Jan 22 (Week 3)
There are a few basic things one can do in Photoshop to improve any image.
1. Curves
A basic "S" Curve will make your flat looking picture appear more vibrant. It adds a bit of contrast while boosting colors slightly.
This is what the curve should look like (in your adjustment palatte, click 'curves' and make the box look like this:

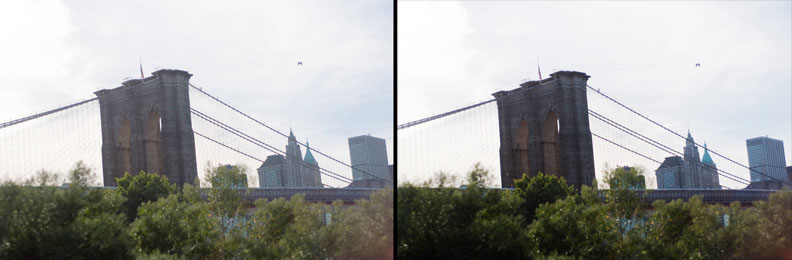
The image on the right has the S curve applied. Notice how it has increased density and doesn't look flat.
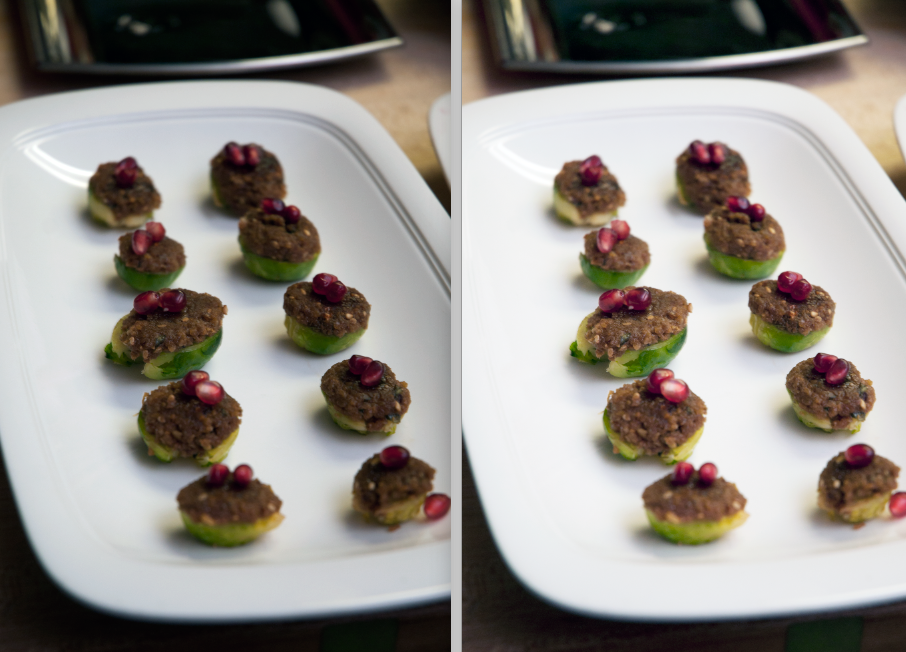
2. Sharpening
If you’re done editing and want to sharpen your image, Flatten your image (layer > flatten image). Then duplicate the background so you have 2 layers again. Then go to Filter > Sharpen > Unsharp Mask. Make sure you zoom in to 100% to see if you like how sharp it became. Flatten when finished (Layer > Flatten Image) then File > Save.

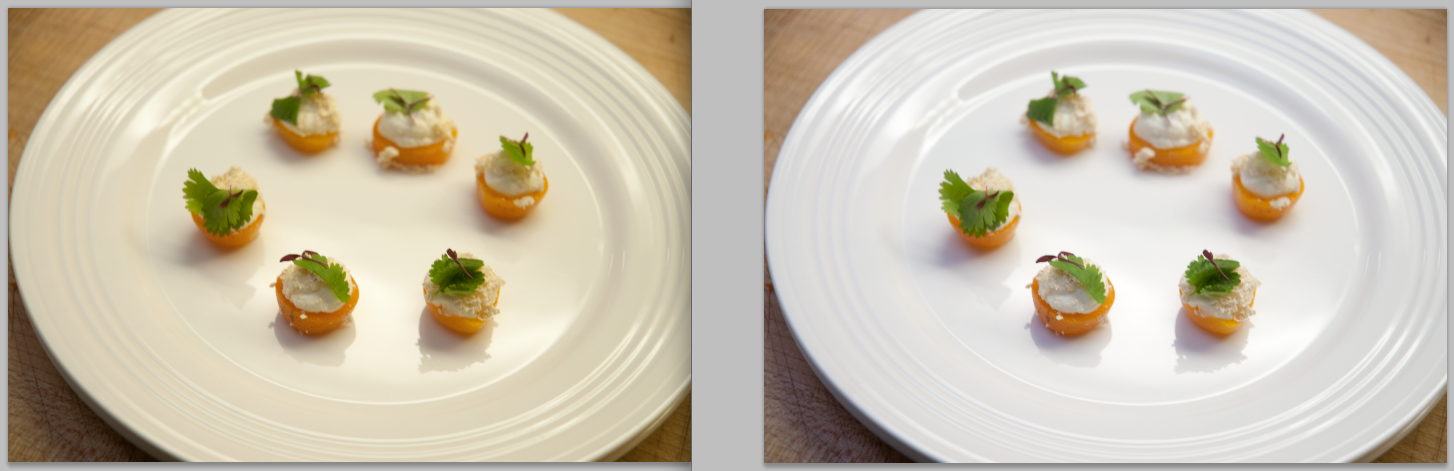
3. Correct White Balance
The image below on the right has been corrected. This is easy to do in the camera raw window by adjusting the white balance temperature slider or by using the white balance tool (3rd icon from the left on the upper left corner of the window). In Photoshop you can simply correct it by going to IMAGE > Auto Tone (or Auto Color).
4. Brightness/Contrast
In Photoshop, go to Image > Adjustments > Brightness Contrast
1. Curves
A basic "S" Curve will make your flat looking picture appear more vibrant. It adds a bit of contrast while boosting colors slightly.
This is what the curve should look like (in your adjustment palatte, click 'curves' and make the box look like this:

The image on the right has the S curve applied. Notice how it has increased density and doesn't look flat.
2. Sharpening
If you’re done editing and want to sharpen your image, Flatten your image (layer > flatten image). Then duplicate the background so you have 2 layers again. Then go to Filter > Sharpen > Unsharp Mask. Make sure you zoom in to 100% to see if you like how sharp it became. Flatten when finished (Layer > Flatten Image) then File > Save.
3. Correct White Balance
The image below on the right has been corrected. This is easy to do in the camera raw window by adjusting the white balance temperature slider or by using the white balance tool (3rd icon from the left on the upper left corner of the window). In Photoshop you can simply correct it by going to IMAGE > Auto Tone (or Auto Color).
4. Brightness/Contrast
In Photoshop, go to Image > Adjustments > Brightness Contrast
Shooting Still Life: Jan 22 (Week 3)
This week in class we will be looking at different ways to shoot still life. We will practice shooting food, drinks, jewelry and other small objects. Remember to shoot at a low # F stop (like F2.8) if you want a shallow depth of field (blurry background). Remember to have your ISO at about 200 or 400 so that the image doesn't look grainy. If you are using a window to light your subject from the side, you may have to use a tripod or balance your camera on something to avoid motion blur. Instead of a window light, you can also use a desk lamp or clamp light from Home Depot ($9):

Side Lit (natural light/ window):

Back Lit by Window:

Diffused Flash:
hold a tissue over your flash or a piece of paper at an angle in front of the flash to direct the light upwards instead of directly AT your subject...

Comparison of direct flash VS diffused flash:

Fill in Shadows:
When side lighting an object, you can fill in the shadow side with a piece of white paper.


Subscribe to:
Posts (Atom)